Setup
To avoid adding unnecessary complexity, we will be using bare minimum that is needed to build a pre-call UI.
We will be using.
- create-next-app (boilderplate)[https://react.dev/learn/installation]
- React JS + Typescript (Easily portable to plain JS)
- Tailwind CSS (Part of boilderplate)
- NodeJS + NPM + NPX
- A Participant auth token (https://docs.dyte.io/getting-started)
This tutorial uses create-next-app@14.1.3 boilerplate to create our react+next app. Boilerplate of version 14.1.3 ships with Typescript, Tailwind and requires no additional setup to run this tutorial.
It is not mandatory to use NextJS in your codebase when you actually Dyte components, from this tutorial, to a larger codebase.
In fact, we will not even be touching anything sever side in this tutorial.
Code from this tutorial will be easily portable to Javascript in case you are not using Typescript.
We are using create-next-app just because React recommends it and it will be easier to get support if you are stuck somewhere.
If you are using React with some other backend, feel free to pick just the required pieces and leave the rest.
To follow along with this tutorial, please create a new react+next app using the following command.
npx create-next-app@latest
This would ask for a project name. You can provide any project name of your choice. For this tutorial, i will be naming it as dyte-pre-call-ui.
Once you are done through the Setup Wizard of create-next-app, let's move on to running our new app.
cd dyte-pre-call-ui # replace this with your project name
npm install
npm run dev
If successful, you would see something similar to the below response. In this case, we can see our app running at http://localhost:3000.
> dyte-pre-call-ui@0.1.0 dev
> next dev

   ▲ Next.js 14.1.3
   - Local:        http://localhost:3000

 ✓ Ready in 1545ms
The page that you will see at http://localhost:3000 is the default page that the boilderplate provides.
We need to replace the content of app/page.tsx with the following code to see the Dyte meeting. Make sure to replace PLEASE_PUT_A_PARTICIPANT_AUTH_TOKEN_HERE with an actual participant auth token.
We recommend using any preset of type Group call for creating this participant auth token. Easiest would be to use the preset with name group_call_host that Dyte creates for you when you create a new organisation.
Learn how to get create a preset and a participant at https://docs.dyte.io/getting-started.
Once you are confident enough with the integration, you can try more advance preset types such as Webinar and Livestream, later.
"use client";

import { useEffect } from 'react';
import { DyteMeeting } from '@dytesdk/react-ui-kit';
import { useDyteClient } from '@dytesdk/react-web-core';

export default function DyteCustomSetupScreen() {
  const [meeting, initMeeting] = useDyteClient();

  useEffect(() => {
    const authToken = 'PLEASE_PUT_A_PARTICIPANT_AUTH_TOKEN_HERE'; // Learn how to get one here - https://docs.dyte.io/getting-started

    initMeeting({
      authToken,
    });
  }, []);

  useEffect(() => {
    (window as any).meeting = meeting;
  }, [meeting])

  return (
    <div className='flex h-screen   w-screen'>
      {
        (!meeting && (
          <div className='w-full h-full flex justify-center items-center'>
            <div>Initializing Dyte meeting...</div>
          </div>
        ))
      }
      {
        (meeting && (
          <div className='w-full h-full flex'>
            <DyteMeeting meeting={meeting} showSetupScreen={true} />
          </div>
        ))
      }
      </div>
  );
}
Navigate back to http://localhost:3000 and grant camera & mic permissions if prompted.
You would eventually see this screen. Video feed and participant name would obviously be different.
If your video feed is not ON, please try turning video ON using the Camera Icon on this screen.
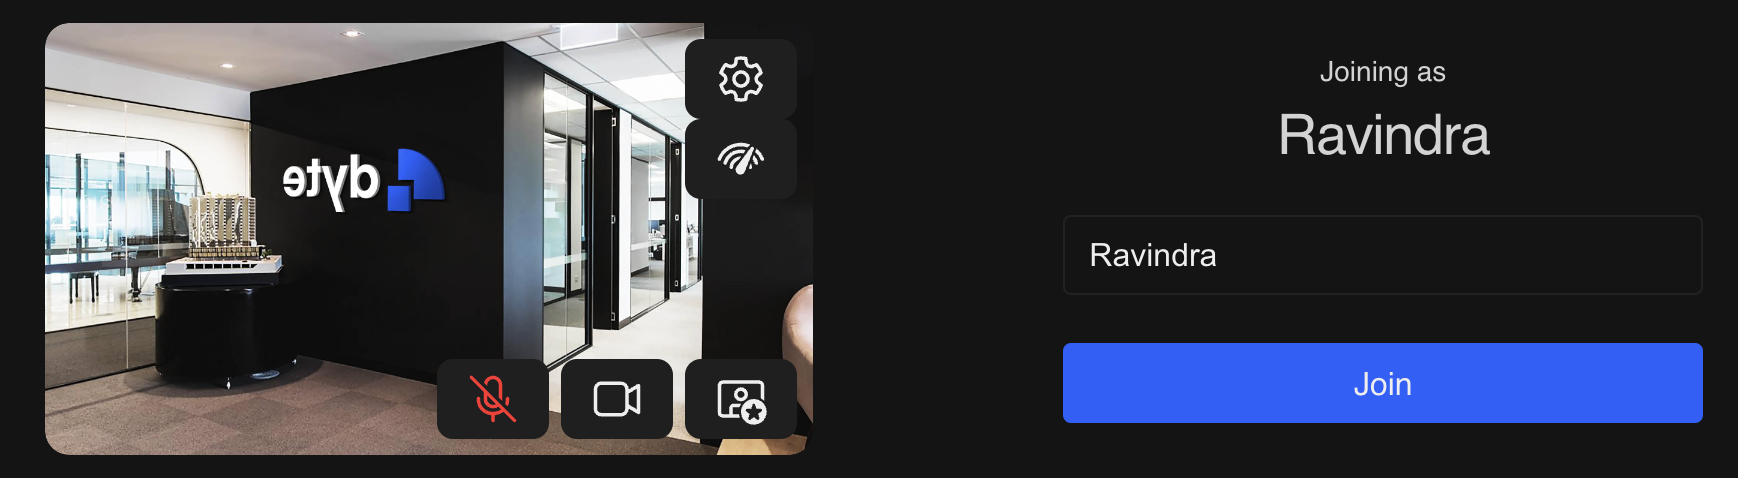
This is the default pre-call setup screen. At this screen, input or change a participant name. A participant name should never be empty to join a meeting.
If in case you are seeing the name input field disabled, please enable the "Edit Name" permission in the preset and reload this localhost page.

Once you are able to input a participant name, you will be inside a Dyte meeting.
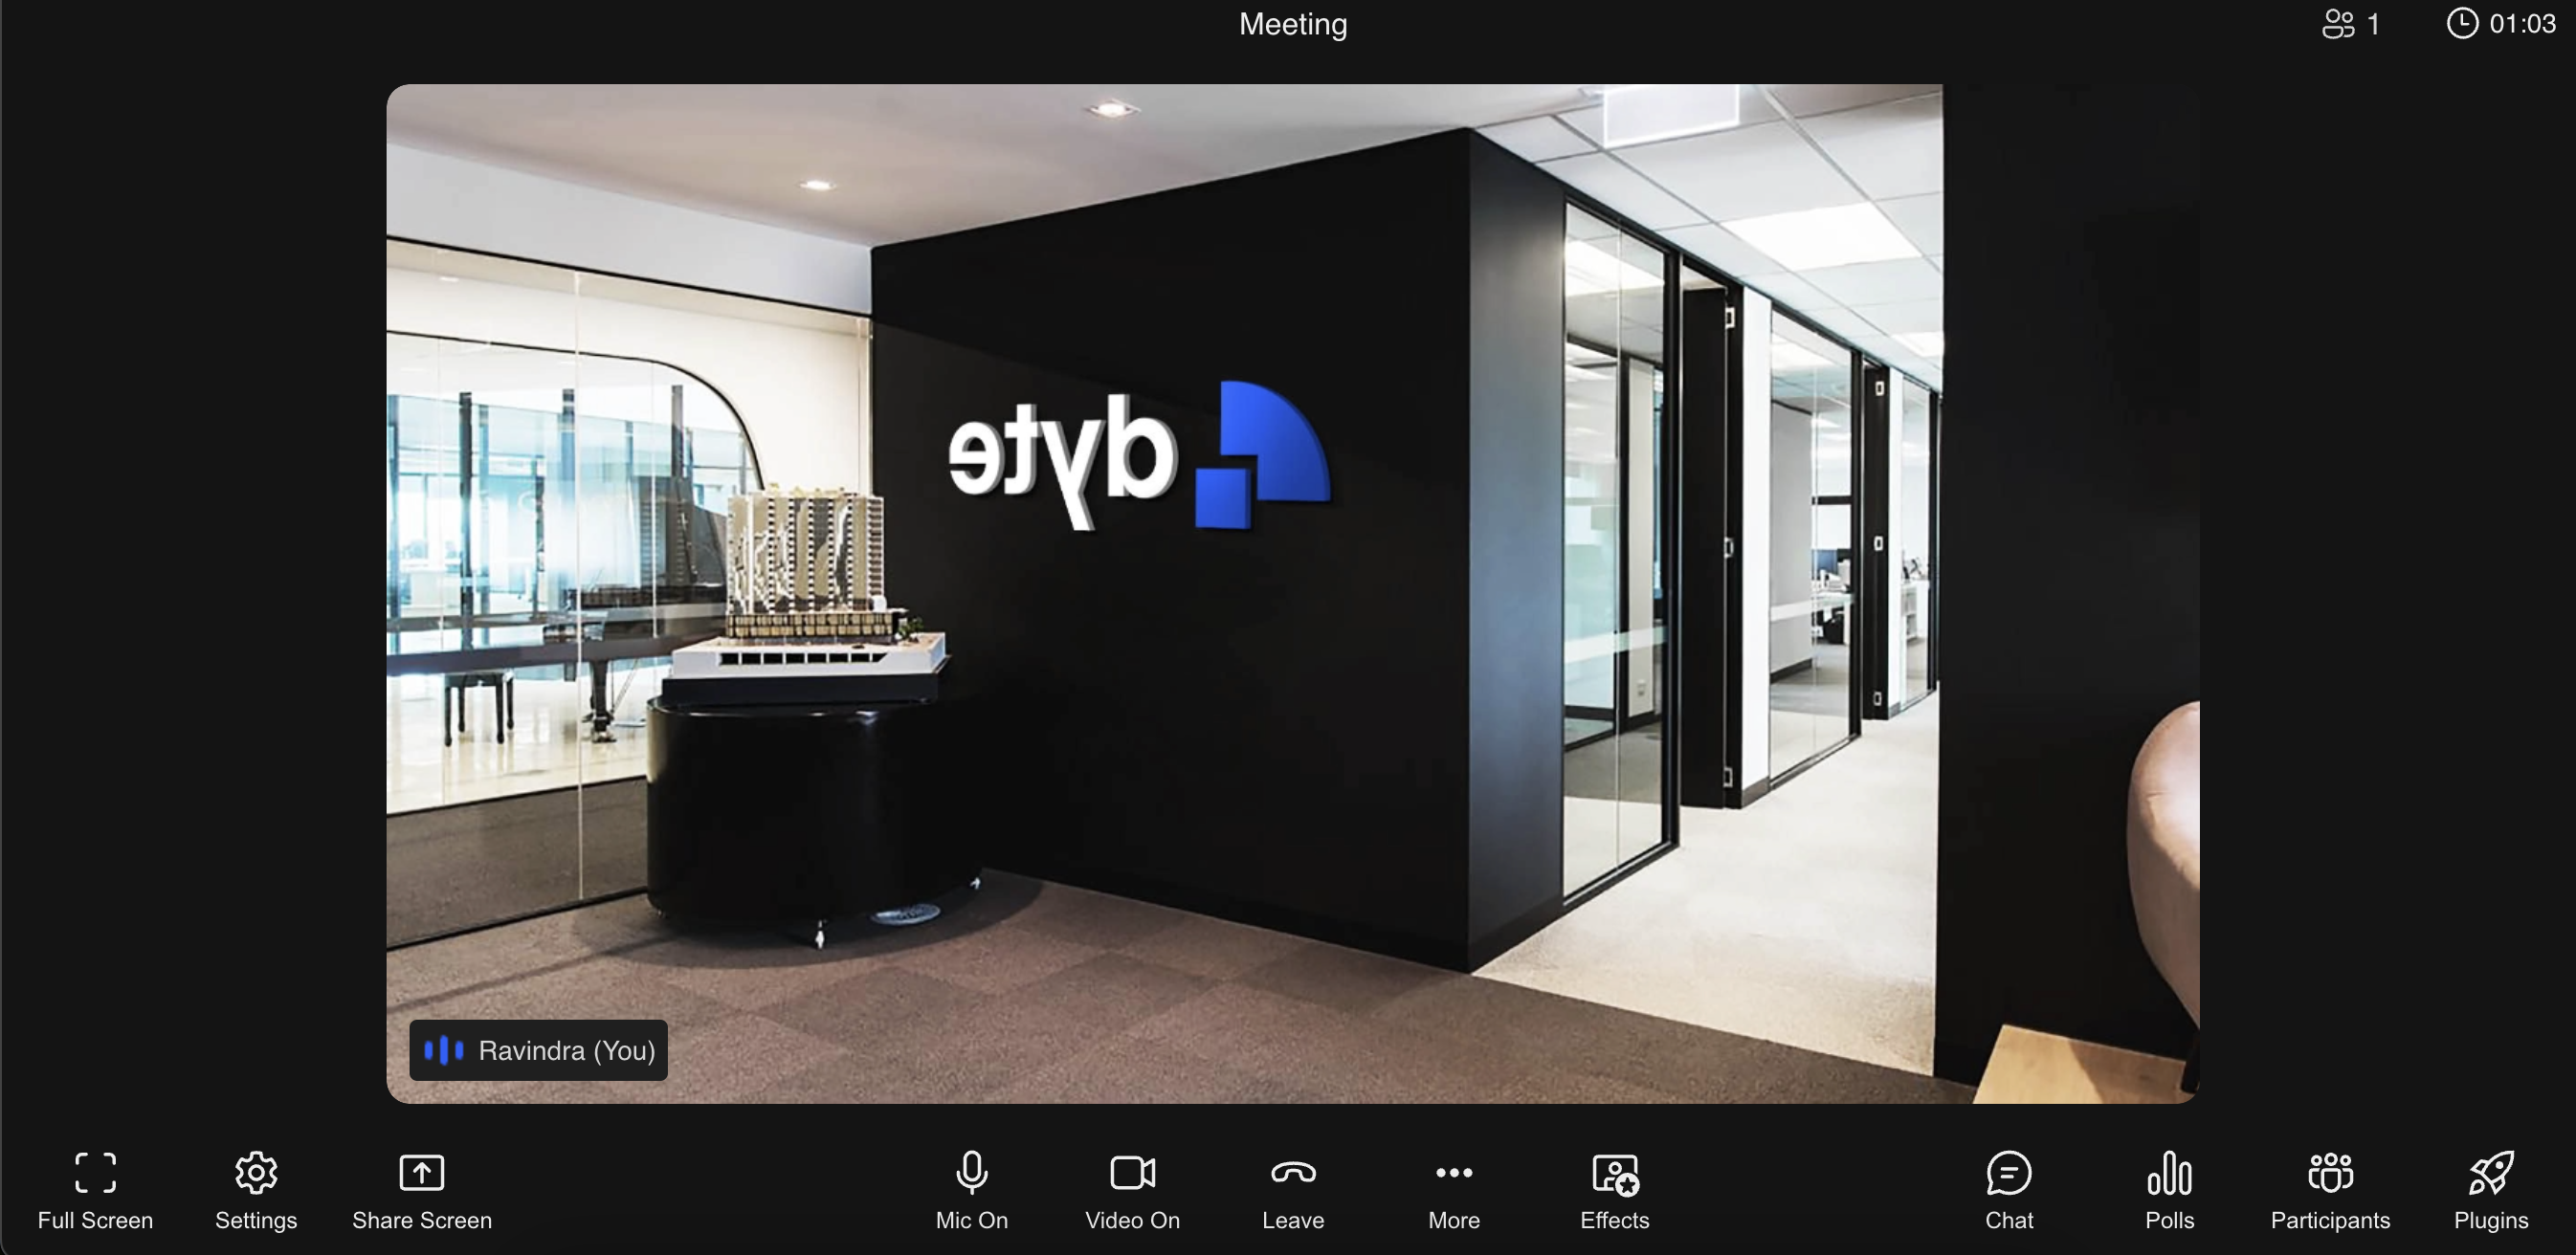
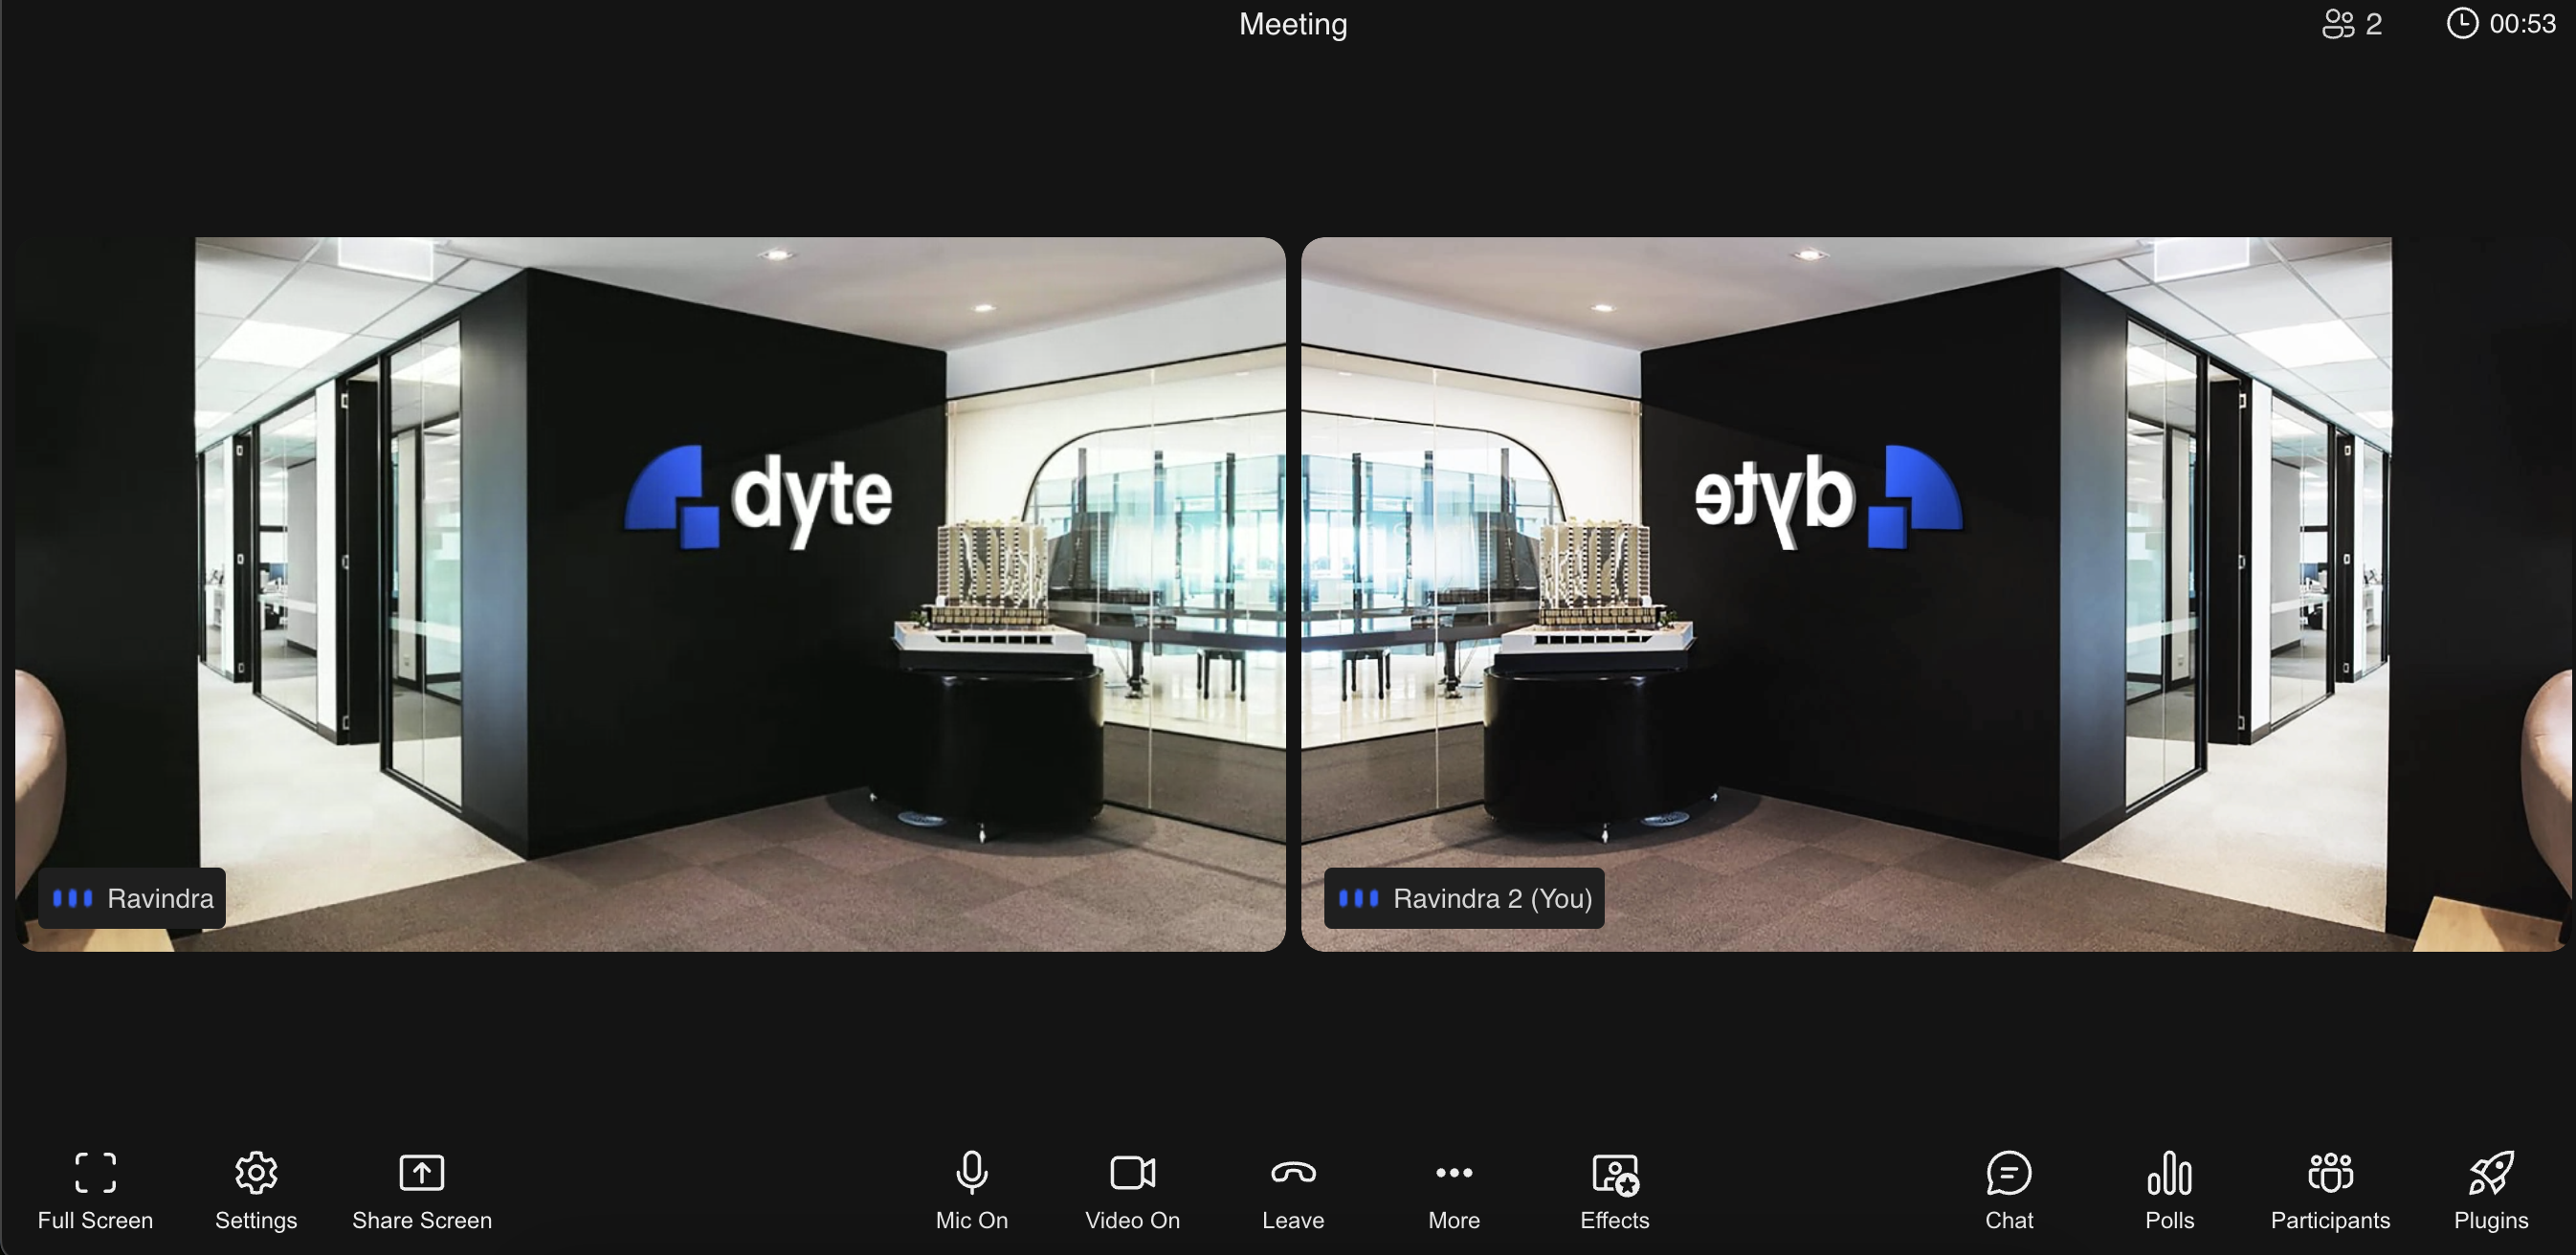
Open one more tab and navigate to http://localhost:3000 in that tab as well. Once you provide a name here also and join the meeting, you will be able to see both the participants in both the tabs.
If you have come this far without any issues, the next part of this tutorial will be a cold breeze in a hot summer day.
Let's complete some more prerequisites and then we can build a custom pre-call ui.